Trending

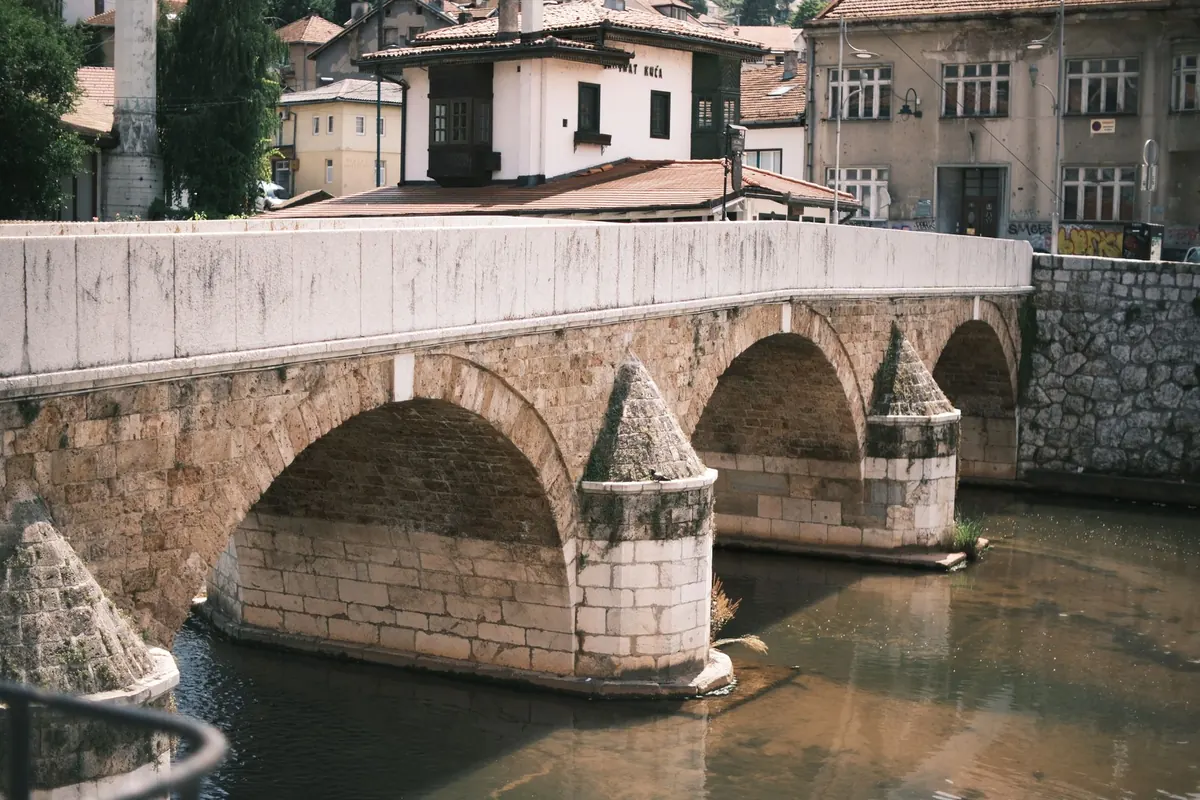
Walk over an old stone arch bridge and you will usually spot three or four things that look wrong. A crack zigzagging up the spandrel wall. Moss along the parapet. A sapling wedged into a joint. Most of them have been there for years and mean very little.
The hard part is telling the harmless from the urgent, and catching the second kind before a small defect turns into a reconstruction bill. Historic bridges rarely fail without warning, but the warnings are quiet: a joint that stays wet when everything else has dried out, a footing that only appears at low water, a deck line that no longer runs true.
What follows is a working field checklist — twelve signs worth photographing and writing down. It does not replace an engineer's assessment. It is what tells you to book one.
A masonry bridge can carry a surprising amount of fine cracking for a very long time. Shrinkage cracks in old render or pointing are common and usually stable. What matters is the pattern, the width, and whether anything is changing between visits.
Three patterns deserve particular attention:
Photograph it with something for scale — a coin, a ruler, a pencil laid alongside. Mark both ends with a pencil and the date, or fit a simple tell-tale gauge across the crack so you can see whether it is opening. Keep a small notebook in the car with dates, weather and water levels. A single measurement tells you very little; three measurements over a year tell you almost everything.
Scour is one of the quietest ways a bridge fails. Water moving past a pier or abutment lifts sediment from the bed, and the void that forms underneath is hidden until it is large. Inspect from below whenever you can, and go when the river is low.
Look for footings and piling suddenly exposed where you remember them buried. Look for fresh hollows in the bed downstream of a pier, for a cutwater that has lost its stone skin, and for the debris rafts that form against piers during high water and accelerate the scouring. A dark, damp line on an abutment can be a high-water mark worth noting. The most useful visit of the year is often the day after a flood has dropped.
Most of the damage that ages a bridge slowly begins with water going somewhere it should not. On the deck, check that gullies and scuppers are clear and that the surface falls towards them rather than towards the parapet. Water spilling over the edge and down the face of the masonry is a sign that something upstream is blocked.
In the masonry, weep holes exist to let moisture out of the fill behind the wall. Blocked weepholes mean saturated backfill, which means extra pressure pushing the wall outwards, plus frost damage every winter. Telltale signs include dark damp patches that never dry, white powdery efflorescence, rust-coloured staining from corroding ironwork, and a green algae line that stays damp long after the rest of the face has dried. On road bridges, runoff also carries salt into the joints and the bearings.
A sapling on a parapet is a root system in a wall. Ivy and other climbers hold moisture against the surface, hide defects from view, and lever joints open as stems thicken. Leaf litter blocks drains and keeps the deck wet through the winter.
Clear small growth by hand where you can do it without pulling masonry apart, and note where larger plants are established so a proper decision can be made about removal. Do not strip heavy ivy immediately before an inspection: an engineer may want to see the structure with the growth still in place, and pulling it off in one go can bring loose material down with it. Near water, take advice before using any herbicide.
Bridges move. The question is whether they are moving in a way they were not designed to. Stand back and look along the parapet, or run a string line along it. A deck that sags between piers, a hump over an arch, a parapet that leans outwards, a wing wall tilting away from the abutment — all are worth photographing from the same spot each year so the comparison is honest.
Look underneath as well. Expansion joints that have closed tight or opened wide, cracked surfacing in a neat line above an arch, a keystone sitting lower than its neighbours, or a gap opening between the arch ring and the spandrel wall are all messages from the structure. So is a bearing: rust jacking that lifts a beam, a roller that has walked out of position, a pad crushed flat, or grout that has disappeared from under a base plate.
Tap the masonry with a small hammer in a few places. A dull thud is reassuring; a hollow, drum-like sound suggests a void or a detached facing stone. Rock the railings and posts by hand. Note any patch of crumbling mortar, spalled concrete or exposed reinforcement, and any rust staining that has appeared since the last visit. Look for impact damage at the corners of piers, where vehicles clip them, and for animal burrows in embankments. Finally, trust the instinct that says the bridge looks different — then go and find out why.
Record it, do not repair it. A well-meaning patch of mortar over a live crack hides the evidence an engineer needs, and hard cement pointing can do real harm to old lime masonry. Photograph, note the date, and keep the record somewhere it will be found again.
Then report it to whoever owns the bridge. For a public road, that is normally the highway or bridge authority, which will have its own inspection regime; for a listed or scheduled structure, the conservation officer will usually want to know before any work is planned, and consent may be required. For anything private, engage a structural or civil engineer with genuine bridge experience rather than a general builder.
Speed matters in a few cases only, and then it matters a lot. If a crack has appeared suddenly, if you can see a void beneath an abutment, if a parapet has shifted after a flood, or if the deck has visibly dropped, keep people and traffic off the structure and call for professional advice the same day. Everything else on this list can wait a week for a proper look — and the professional assessment is the part that actually protects the bridge.
Photo: Emirhan Emiroğlu / Pexels